When and How to Paint Wood Trim
Transforming the look of your home can be as simple as updating your trim. But before you pick up a brush, you might be wondering how to paint wood trim in your house. This guide provides a comprehensive overview of everything you need to know, from deciding if painting is right for your home to achieving a professional finish. We’ll explore the key considerations, including the age of your home, your DIY comfort level, and the ongoing maintenance of painted trim. We’ll also delve into the step-by-step process of painting wood trim, offering expert tips on surface preparation, priming, and applying those all-important thin coats. Plus, we’ll discuss the nuances of painting wood molding white and explore paint colors that complement natural wood. Whether you’re a seasoned DIYer or considering hiring professionals, this guide will equip you with the knowledge to make informed decisions and achieve beautiful results.
Should I Paint My Wood Trim and Molding? Here are 5 Things to Consider
Painting wood trim can be a great way to refresh the look of your home, but it’s not always the right choice for everyone. Before you break out the brushes, consider these key factors before learning how to paint wood trim and molding:
1. How Old is the Home?
Older homes often have original wood trim that adds significant character and value. If your home has historical significance, painting the trim might decrease its appeal and even its worth. Original, unpainted wood trim is often considered a desirable feature, showcasing the craftsmanship of a bygone era. However, if the wood is already damaged, has multiple layers of old paint, or has been previously altered, a fresh coat of paint might be the best option to restore its beauty and protect the wood. Consider consulting with a historical preservation expert if you’re unsure about the best approach for your older home’s trim.
2. Do I Want to Paint the Trim Myself?
Painting wood trim is a meticulous job that requires patience, precision, and the right materials. It involves several steps, including careful cleaning, sanding, priming, and applying thin, even coats of paint. If you’re not comfortable tackling the task yourself, or if you lack the time and experience, hiring professional painters may be a better option to ensure a smooth, polished, and long-lasting finish. Professionals also have the tools and expertise to handle intricate trim details and ensure clean lines.
3. Do I Want the Maintenance of Painted Trim?
Wood trim with a stained or natural finish requires less upkeep than painted trim. White-painted trim, in particular, can show dirt, dust, and scuff marks more easily, meaning you’ll need to clean and touch it up regularly.
4. What is My Home’s Design Style?
If your home features a modern or farmhouse style, learning how to paint wood trim white or another neutral shade can create a clean, bright, and updated look. Painted trim often complements minimalist or contemporary interiors. If your home leans towards a more traditional or rustic aesthetic, natural wood tones may enhance its charm and create a warm, inviting atmosphere. Consider how the trim will contribute to the overall design aesthetic you’re aiming for, both inside and out. For example, if you’re drawn to the warmth of natural wood inside, you might also consider how that translates to your home’s exterior. A complementary exterior paint color, such as a rich brown exterior house paint, could tie the whole look together, creating a cohesive and inviting feel from the street to the interior.
5. What is My Long-Term Plan?
If you plan to sell your home in the near future, consider what potential buyers might prefer. Some buyers love the crisp, clean look of painted trim, while others appreciate the warmth and character of natural wood. Research real estate trends in your area to gauge buyer preferences. This leads to a larger question many sellers ask: “Should I paint my house before selling?“ While painting can freshen up a home and make it more appealing, it’s essential to consider the return on investment. Will the cost of painting be recouped in the sale price? Sometimes, focusing on key areas like the trim can be more effective than a full house paint job. If you’re unsure, consulting with a real estate agent can provide valuable insights. They can advise you on what buyers in your area are looking for and whether painting (including the trim) is a worthwhile investment.
How to Paint Wood Trim
If you’ve decided to paint your wood trim, follow these steps for a professional-looking finish:
Step 1: Gather Your Materials
You’ll need:
- High-quality paint and primer. For a healthier home and environment, consider using low-VOC paint. These paints release fewer harmful chemicals into the air, making them a better choice for indoor projects.
- Painter’s tape
- Sandpaper
- Wood filler (if needed)
- Paintbrushes and/or rollers
- A clean cloth or tackcloth
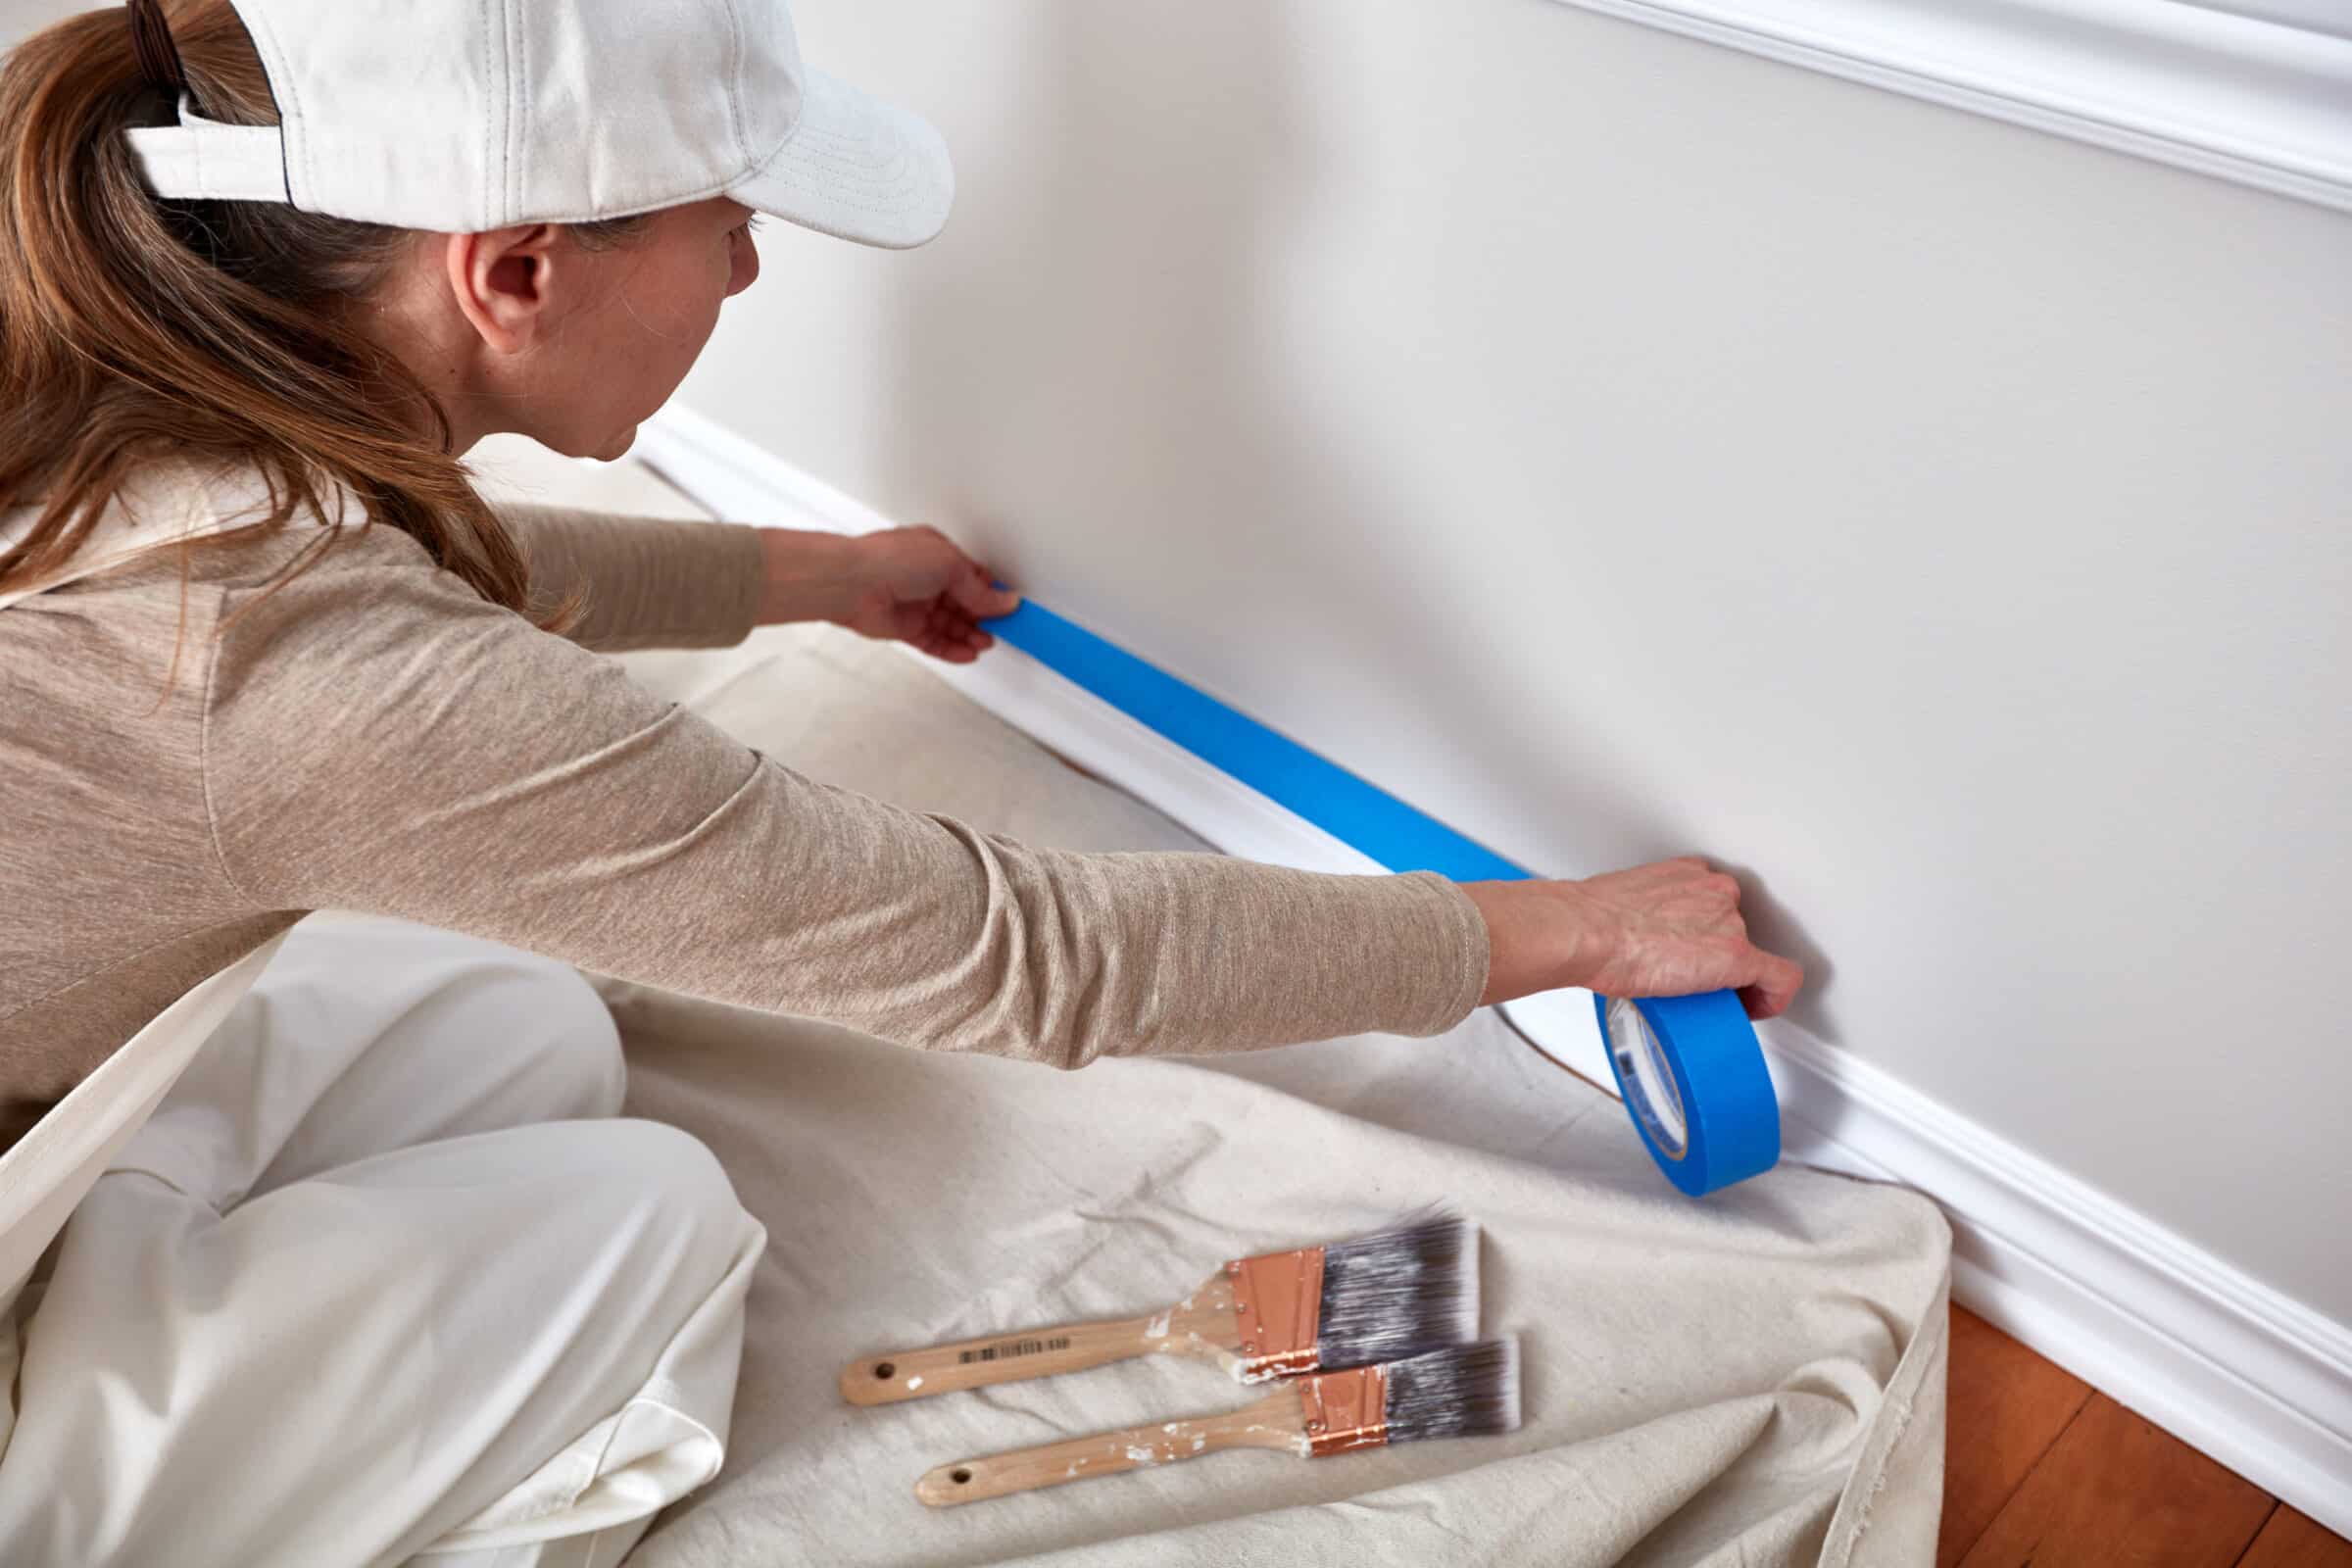
Step 2: Prep the Trim
Clean the trim thoroughly to remove dust and grime. If there are any holes or cracks, fill them with wood filler and sand smooth. Use painter’s tape to protect walls and floors.
Step 3: Sand and Prime
Lightly sand the wood trim to help the primer adhere. Apply a high-quality primer suitable for wood surfaces, especially if you’re painting over a dark stain or glossy finish.
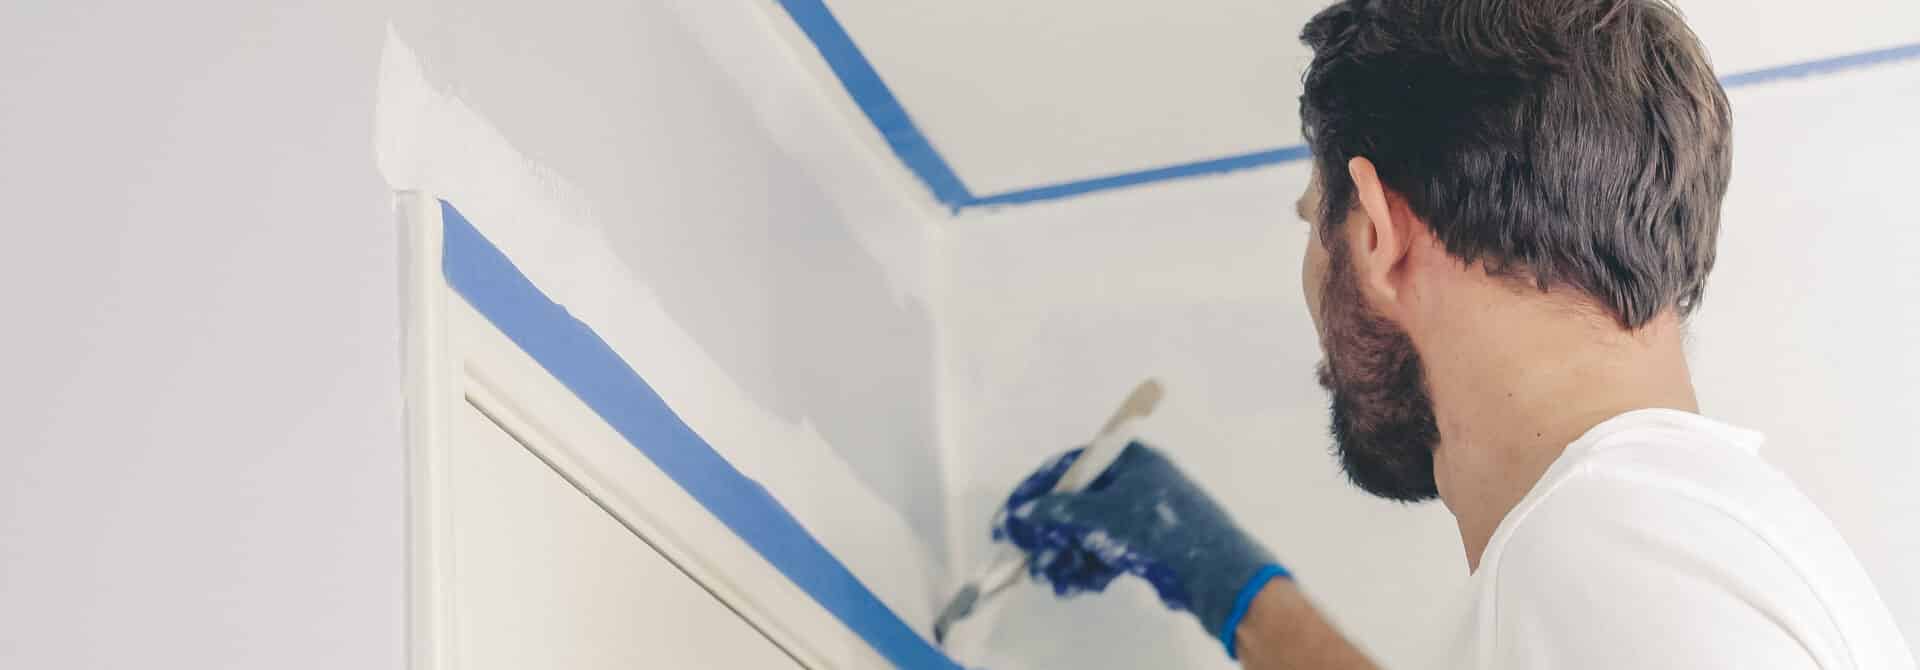
Step 4: Apply Paint in Thin Coats
Use a high-quality paintbrush to apply thin, even coats of paint. Allow each coat to dry completely before applying the next. Two to three coats are typically needed for full coverage.
Step 5: Remove Tape and Touch Up
Once the paint is dry, carefully remove the painter’s tape and touch up any uneven areas for a flawless finish.
Step 6: Consider Hiring Professionals
If you want a seamless finish without the hassle, hiring professional painters is a great option. Our team at Paint Denver has the experience and tools to ensure your wood trim looks perfect with minimal effort on your part.
What to Know About Painting Wood Molding White
Painting wood molding white is a popular choice, as it brightens up a space and adds a crisp, clean look. However, here are a few things to keep in mind:
- Dirt and Scuffing: White molding tends to show dirt and scuffs more than darker finishes, so be prepared for regular cleaning.
- Sheen Matters: A semi-gloss or satin finish is ideal for trim, as it’s more durable and easier to clean than matte paint.
- Primer is Essential: To avoid yellowing over time, use a stain-blocking primer before applying white paint.
When to Paint Your Trim?
So, you’re ready to give your trim a fresh new look? Excellent! But before you grab your brushes and get started, you might be wondering: when is the best time to paint my trim? Timing is key to achieving a smooth, professional finish that lasts. Here’s a breakdown of the factors you should consider:
Mother Nature’s Influence: Weather and Climate
Believe it or not, the weather plays a big role in how your paint job turns out.
- Temperature is Key: Aim for moderate temperatures, ideally between 60-80°F (15-27°C). Extreme heat can make the paint dry too quickly, leading to brushstrokes, blistering, or cracking. On the other hand, cold temperatures can slow drying time and affect how well the paint adheres to the trim. Always check the paint can for the manufacturer’s recommended temperature range. They know best!
- Humidity Check: High humidity is another culprit that can mess with your paint job. It can lead to drips, tackiness, and extended drying times. Try to paint on a relatively dry day, avoiding periods of high humidity or right after a rainstorm.
- Sun’s Out, Problems Out: Direct sunlight, especially on a hot day, is a no-go for painting trim. The sun can cause the paint to dry too fast and unevenly, resulting in a less-than-perfect finish. If possible, paint in the shade or when the sun isn’t directly hitting the trim.
- Dust and Pollen Alert: Keep an eye on the air quality! Dust and pollen can settle on wet paint, creating a rough texture. Try to paint when there’s minimal dust and pollen floating around.
Your Schedule and Project Logistics
Beyond the weather, your own schedule and the specifics of your project are also important.
- Time Commitment: Painting trim isn’t a quick task. It requires careful prep work, painting, and cleanup. Make sure you have enough uninterrupted time to dedicate to the project. Rushing will only lead to mistakes and a less-than-ideal outcome.
- Project Sequencing: If you’re tackling other home renovations, think about the order of operations. It’s generally best to paint trim after other construction or demolition work is complete. This will help protect your freshly painted trim from damage.
- Drying vs. Curing: Remember, there’s a difference between paint being “dry to the touch” and fully cured. Curing takes longer and means the paint is fully hardened and resistant to damage. Give your trim ample time to cure before heavy use or contact.
Paint Colors That Go With Wood Trim and Molding
If you decide to keep your wood trim natural, choosing the right paint color for your walls can enhance its beauty. Here are some great color pairings:
- Warm Neutrals: Beige, cream or warm grays complement wood trim without overpowering it.
- Cool Tones: Soft blues and greens create contrast while still looking elegant.
- Deep Hues: Navy blue, charcoal, or rich earth tones make wood trim stand out for a dramatic effect.
- Muted Whites: Off-white or warm white shades can make the trim look intentional rather than mismatched.
You Don’t Need to Know How to Paint Wood Trim, With Us
Knowing how to paint wood trim can be a rewarding DIY project, but if you’d rather leave it to the professionals, Paint Denver is here to help. Whether you want to refresh your interior trim or completely transform your home’s look, our expert painters can get the job done with precision and care.
Contact us today to schedule a consultation or schedule an estimate and bring your vision to life!