DIY Cabinet Painting Guide
Painting cabinets can be a rewarding DIY project that can significantly transform the look of your kitchen or bathroom. However, it’s essential to be prepared and organized, as it can be a time-consuming and somewhat intricate process. Below is a general step-by-step guide and timeline for painting cabinets:
Note: This timeline assumes that you have already removed all the cabinet doors, drawers, and hardware (handles, knobs, etc.) before starting the project. Also, make sure to work in a well-ventilated area and use appropriate safety gear like a mask and goggles when dealing with paints and chemicals.
Day 1: Preparing Cabinets to be Painted
On day 1, you’ll need to clean the cabinets. Thoroughly clean all cabinet surfaces, doors, and drawers with a grease-cutting cleaner. This step is crucial to remove any dirt, grime, or grease that can interfere with paint adhesion.
Remove old finish (if needed): If your cabinets have an old varnish, polyurethane, or paint finish that needs to be removed, you’ll need to do this next. You can use a paint stripper, sandpaper, or a combination of to strip off the old finish.
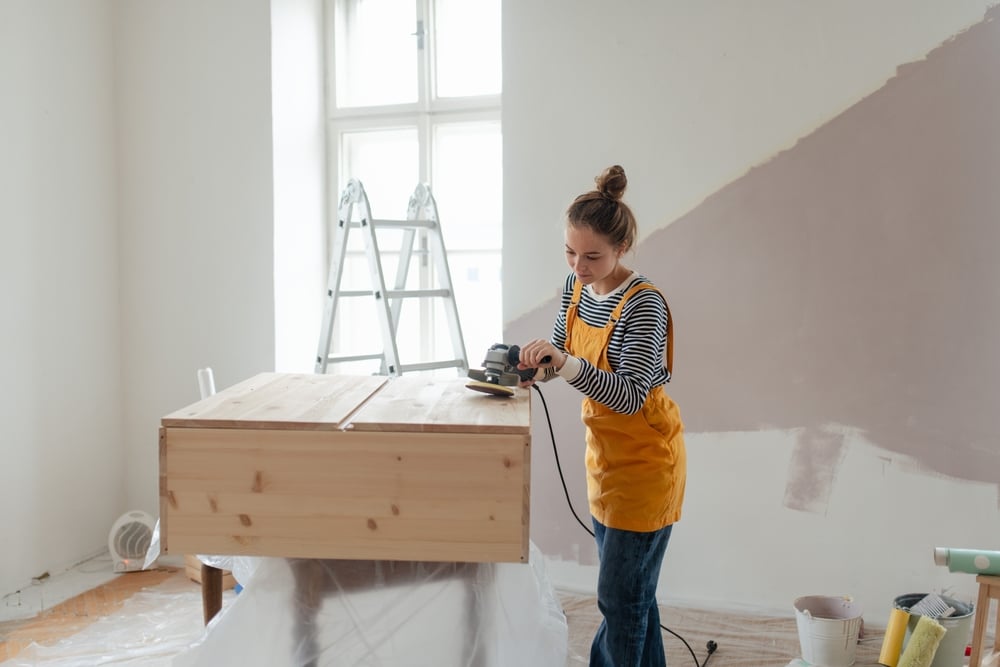
Sand the surfaces: Lightly sand all cabinet surfaces, doors, and drawers with fine-grit sandpaper. This helps to create a rough surface for better paint adhesion. Be sure to wipe off any dust after sanding.
Day 2: Primer
On day 2, you’ll need to prime the cabinets! Don’t skip this step! Be sure to use a high-quality primer specifically designed for cabinets. Apply a thin, even coat of primer to all surfaces. Let it dry completely as per the manufacturer’s instructions.
Day 3-4: Painting
Apply the first coat of paint: Use a paintbrush or a paint sprayer to apply the first coat of paint to all surfaces. Work in long, even strokes to achieve a smooth finish. Allow the paint to dry thoroughly before proceeding.
Apply the second coat of paint: Apply a second coat of paint for an even and more durable finish. Let it dry according to the paint’s drying time recommendation.
Day 5-6: Optional Steps
Sand and smooth the cabinets. If you notice any imperfections or rough spots, you can lightly sand the surfaces between coats to achieve a smoother finish. Remember, this is a process you won’t want to repeat in a year’s time when you find little imperfections in your work. Be thorough before adding the final touches to ensure you’re
Day 7: Final Touches
Finally, you’ll need to seal the paint. If you want added protection and a semi-gloss or glossy finish, apply a clear polyurethane sealer to all painted surfaces. Ensure the paint is entirely dry before sealing. Once everything is dry, reattach the cabinet doors, drawers, and hardware. Make sure they are aligned correctly. Take a close look at the cabinets and touch up any areas that need additional paint or attention.
Note: The drying time for each coat of paint and primer can vary depending on the product used, so make sure to follow the manufacturer’s instructions on the paint cans for specific drying times.
Professional Cabinet Painting Denver
The timeline provided above can be adjusted based on the complexity of the project and your schedule. It’s important to take your time and let the paint dry properly between coats to achieve the best results. Cabinet painting requires patience and attention to detail, and we all lead busy lives – not everyone has several days to put towards a home improvement task, especially one as important as painting. If you’re interested in passing off this task to professional cabinet painters, look no further than Paint Denver. We’re here to help bring your vision to life!