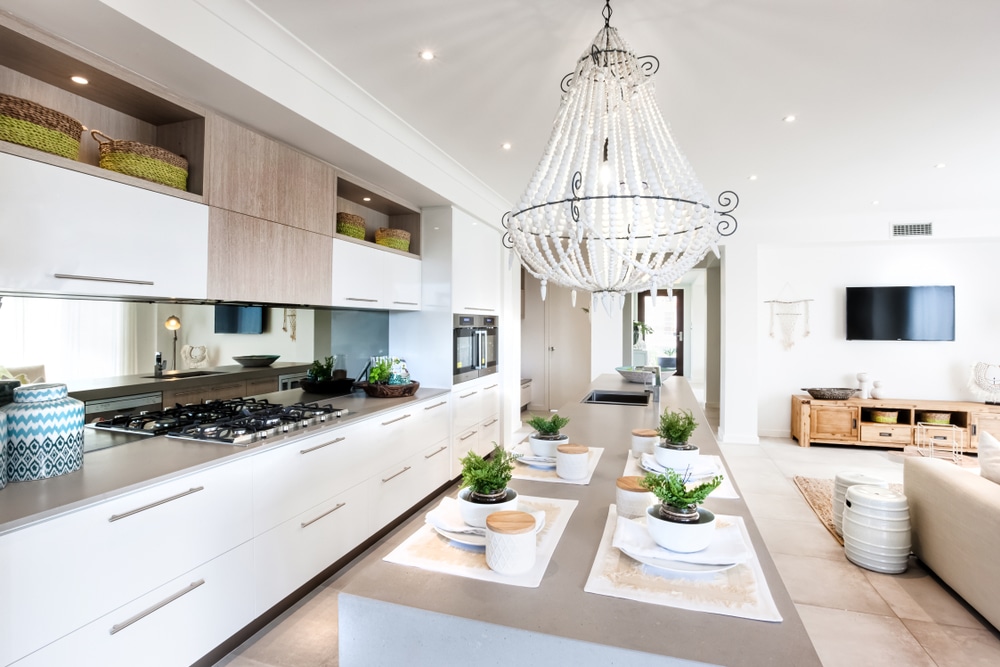
A Step-by-Step Guide to Painting Adjoining Rooms, From Littleton Paint Contractors
Painting adjoining rooms in your home can be an exciting project that breathes new life into your living space while creating a seamless flow between different areas. Whether you’re aiming for a smooth and understated transition, or you’d like to try more of a vibrant contrast, careful planning and execution are key to getting the best results. As Littleton paint contractors, we are well-versed in handling every kind of painting project.
In this blog post, we’ll guide you through the process of painting adjoining rooms, helping you achieve a harmonious and visually appealing result.
Step 1: Choose a Cohesive Color Palette
The first step in painting adjoining rooms is to select a color palette that complements each other while catering to the unique atmosphere you want to create in each space. Consider factors like the room’s purpose, lighting, and existing decor. Select a main color that you’ll use in both rooms, and then from there choose a secondary color if you’d like to add dimension or depth to your space (when applicable, of course).
Step 2: Test Your Colors
Before committing to any colors, our Littleton paint contractors always recommend testing them in both rooms. Paint small swatches on different walls to see how the colors interact with the lighting at various times of the day. This will help you avoid any unpleasant surprises once the entire rooms are painted.
Step 3: Determine the Transition Point
Decide where you want the colors to transition between the adjoining rooms. This can be a corner, a doorway, or a specific architectural element. A smooth transition can create a cohesive feel, while a more abrupt change can highlight the distinct purposes of each room.
Step 4: Gather Your Supplies
Our Littleton paint contractors like to make a list of the necessary supplies needed, including paint, brushes, rollers, painter’s tape, drop cloths, and any other tools we’ll need before heading out to a project—and we recommend anyone who tackles a painting project of any capacity do the same. Having everything ready before you start will help the process go smoothly.
Step 5: Prepare, Prime, and Paint
Clear the rooms of furniture, cover floors and furnishings with drop cloths, and remove any hardware or fixtures that might get in the way. Don’t forget to clean the walls to ensure the paint adheres properly!
Start by applying a coat of primer to create a smooth base for the paint. Once the primer is dry, begin painting the walls with your chosen colors. Work carefully along the transition point to achieve a clean and even line. Use painter’s tape for precision if needed.
Step 6: Allow for Proper Drying Time
This part takes a bit of patience! Make sure each coat of paint gets the appropriate amount of time to dry before applying the next coat. For this part, our Littleton contractors always adhere to the manufacturer’s instructions for drying times. Following this key step to a T is one of the best ways to ensure a polished finish to your walls.
Step 7: Finishing Touches
After the final coat has dried, remove the painter’s tape and analyze your work: are there any areas that are uneven and need a touch up? Adjust accordingly before reintroducing any furniture and décor.
Our Littleton Paint Contractors are Here to Help You Transform Your Home
After following these steps, painting adjoining rooms can be a fulfilling and fun DIY project that completely transforms your living space–especially when you do it right. If you want to ensure that you’ll get the best results, however, it’s a good idea to contact professional painters in Littleton, Colorado. Any painting project always benefits from an expert hand, especially where longevity and quality are concerned.
If you’re looking for help on your next home painting project, or you’re planning on painting adjoining rooms, our team of Littleton paint contractors would be happy to help. Please reach out to us and we’ll get the ball rolling!
